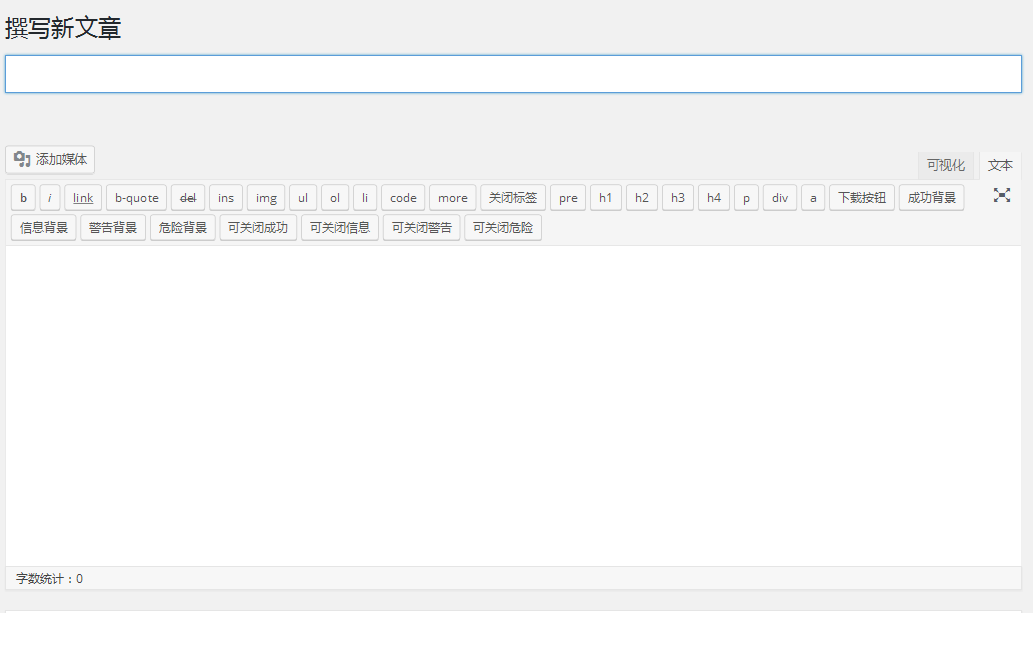
TinyMCE编辑器是WordPress后台默认编辑器,有两种编辑模式,在文本编辑状态下,可以插入HTML标签,习惯用HTML编辑器,但是缺少HTML标签。下面介绍一种方法,我们可以增加html标签,方便我们后台编辑文章。
打开主题根目录下的functions.php文件,在文件的最后面增加如下代码:
function lerm_add_quicktags() {
	if ( wp_script_is( 'quicktags' ) ) {
		?>
		<script type = 'text/javascript'>
			QTags.addButton('pre','pre','<pre>','</pre>');
			QTags.addButton('H1','h1','<h1>','</h1>');
			QTags.addButton('H2','h2','<h2>','</h2>');
			QTags.addButton('H3','h3','<h3>','</h3>');
			QTags.addButton('H4','h4','<h4>','</h4>');
			QTags.addButton('p','p','<p>','</p>');
			QTags.addButton('div','div','<div>','</div>');
			QTags.addButton('a', 'a', '<a href="" title="">', '</a>' );
		</script>
		<?php
	}
}
add_action( 'admin_print_footer_scripts', 'lerm_add_quicktags' );
其中,四个参数中第一个表示标签的ID,第二个表示显示的名称,第三个表示点击一下输入标签,第四个表示,点击第二下关闭标签。按着这种格式,可以根据需要增加更多标签。 OK!现在你就可以在TinyMCE编辑器中快速插入标签了,赶紧试试吧。